

TL;DR:
- Mastering coffee tasting involves smelling, slurping, and comparing coffees at specific temperatures. Developing your palate requires consistent practice, side-by-side tastings, and attention to aroma and flavor notes. Fresh brew, proper technique, and patience help you identify complex taste attributes in every cup.
Coffee tasting, known professionally as cupping, is a sensory practice that trains you to identify aroma, taste, and mouthfeel in every cup. These beginner coffee tasting tips will help you move past “it tastes good” and into a world of berry notes, caramel sweetness, and bright acidity. Experts recommend tasting coffee between 50°C and 75°C to best detect aromatic compounds. That temperature window is your first practical rule. Whether you brew pour-over or use a single-serve pod, the same sensory principles apply.
1. How to smell coffee like a pro
Smell is the foundation of flavor perception. Your nose detects far more nuance than your tongue, so learning to smell coffee at every stage is the single most powerful thing you can do early on.
Start with whole beans before you grind them. Cup your hands around a small handful and inhale slowly. You are looking for broad categories: is it fruity, nutty, floral, or earthy? Common tasting notes include berry, citrus, almond, caramel, jasmine, cinnamon, and woody aromas. These are not ingredients added to the coffee. They are natural compounds that develop during growing and roasting.
Grinding releases a fresh wave of volatile aromatics. Smell the grounds immediately after grinding, before any water touches them. This is often the most intense aromatic moment of the whole process. Then smell the brewed cup while it is still steaming, and again once it cools slightly. The aroma shifts at each stage, and noticing those changes builds your vocabulary fast.
- Smell whole beans before grinding
- Smell freshly ground coffee within 10 seconds of grinding
- Inhale the steam from the brewed cup at arm’s length first, then closer
- Smell again as the cup cools to catch lighter floral or fruity top notes
- Try closing your eyes to remove visual distractions and sharpen focus
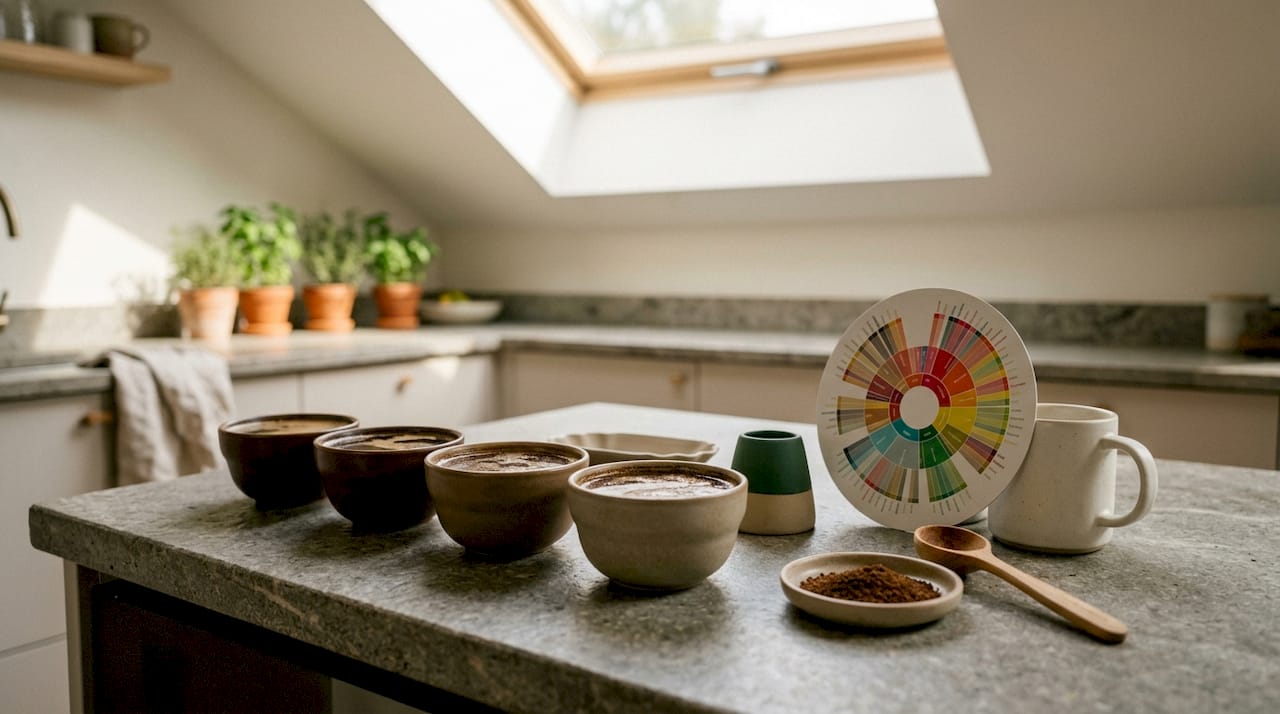
Pro Tip: Use a printed coffee aroma wheel, like the one developed by the Specialty Coffee Association, to match what you smell to a named category. Having a visual reference turns vague impressions into specific, repeatable descriptions.
2. Mastering the slurp for full palate activation
The slurp is the defining technique of professional coffee tasting, and it feels awkward at first. That is completely normal. Stick with it, because it genuinely changes what you taste.
When you slurp, you spray coffee across the entire surface of your tongue while pulling air through it. This aerates the liquid and sends aromatic compounds up through your retronasal passage, the channel connecting your mouth to your nose. The result is a fuller, more layered flavor experience than a quiet sip ever delivers.
- Let your coffee cool to around 60°C–70°C before slurping. Very hot coffee masks subtle flavors, and you risk numbing your palate before you even start.
- Fill a spoon about halfway. A cupping spoon works well, but any tablespoon does the job.
- Bring the spoon to your lips and inhale sharply while sipping. The sound is intentional and necessary.
- Let the coffee coat your entire tongue before swallowing.
- Pause for three seconds after swallowing. Notice what lingers.
The slurp technique aerates coffee across the palate, engaging both taste buds and retronasal receptors for a complete flavor picture. That is why professional cuppers use it at every single tasting.
Pro Tip: Taste the same cup two or three times as it cools. Flavors that were hidden under heat, like delicate fruit notes or a honey-like sweetness, often appear once the temperature drops below 60°C.
3. Recognizing key taste attributes in your cup
Good coffee balances at least two tastes among sweetness, acidity, bitterness, saltiness, and umami. Great coffees balance three or more for harmony and complexity. Learning to identify each attribute separately gives you the tools to describe any cup with confidence.
Acidity is brightness or liveliness on the palate. It is the quality that makes a coffee feel crisp and clean, similar to the refreshing quality of a good lemon curd. Acidity is not the same as sourness, though beginners often confuse the two.
Sweetness comes from natural sugars in the coffee cherry. Roasting caramelizes those sugars, and proper extraction preserves them. A well-extracted coffee tastes sweet without any added sugar.
Body describes the weight and texture of coffee in your mouth. Light-bodied coffees feel almost tea-like. Full-bodied coffees feel thick and coating, like whole milk compared to water.
Bitterness is a roast and extraction quality. A small amount of bitterness adds depth. Too much signals over-roasting or over-extraction.
Finish is what you taste after you swallow. A long, pleasant finish is a sign of quality. A short or harsh finish often points to a flaw in roasting or brewing.
The saliva test for acidity vs. bitterness
Beginners frequently mix up acidity and bitterness. The saliva test solves this quickly. After swallowing, open your mouth and check for saliva. If your mouth produces saliva, you tasted acidity. If your mouth feels dry, you tasted bitterness. This simple check takes two seconds and removes all the guesswork.
| Attribute | What it feels like | What causes it |
|---|---|---|
| Acidity | Bright, crisp, lively | Origin, altitude, light roast |
| Sweetness | Smooth, caramel-like | Natural sugars, proper extraction |
| Body | Weight and texture | Brew method, roast level |
| Bitterness | Dry, sharp | Dark roast, over-extraction |
| Finish | Lingering aftertaste | Overall coffee quality |
4. Developing your palate faster with side-by-side comparisons
Tasting two coffees side by side is more effective than tasting them separately. Your brain detects relative differences far better than absolute ones. This is the single fastest way to build your palate as a beginner.
Set up two cups at the same time. Try a light roast next to a dark roast, or a coffee from Ethiopia next to one from Colombia. The contrast makes flavors that seemed invisible suddenly obvious. You will notice that the Ethiopian cup has a fruity brightness while the Colombian cup feels nuttier and rounder. Those differences are hard to name in isolation but easy to spot when placed side by side. For a deeper look at how origin shapes flavor, the single-origin coffee guide at Ecoviberoast is a great next read.
- Always taste black coffee first, before adding milk or sugar, to get a clear baseline
- Keep a small notebook or use a notes app to record three things: aroma, taste, and body
- Rate each attribute on a simple 1–5 scale so you can track progress over time
- Rinse your palate with plain water between cups
- Revisit the same coffee weekly to notice how your perception sharpens with practice
Patience matters here. Your palate is a muscle. It gets stronger with repetition, not speed.
5. How brewing method and freshness shape what you taste
Brewing is not separate from tasting. The way you prepare coffee directly controls which flavors reach your cup. Getting the basics right means your tasting notes reflect the coffee, not a brewing mistake.
Coffee should be brewed within 2–6 weeks of roasting and ground just before brewing. Freshly ground whole beans produce more distinct aroma and flavor notes than pre-ground coffee sitting in a bag. Staleness is the most common reason beginners find coffee flat or one-dimensional.
The standard brewing ratio for specialty coffee tasting is 60g of coffee per liter of water. This ratio gives you a consistent baseline so that flavor differences between coffees are real, not caused by a stronger or weaker brew. Pour-over methods like the Hario V60 or Chemex give you the most clarity and are ideal for tasting practice. French press produces a heavier, oilier cup that highlights body and mouthfeel. Both are valid. Use whichever matches the attribute you want to study. For a full breakdown of brewing variables, the expanded coffee brew guide at Ecoviberoast walks through every parameter in detail.
Pro Tip: Grind size changes flavor dramatically. A coarser grind produces a lighter, brighter cup. A finer grind extracts more and can tip into bitterness. When a coffee tastes flat, try grinding finer. When it tastes harsh, try coarser.
Key takeaways
Mastering beginner coffee tasting requires consistent practice with smell, slurp technique, and side-by-side comparisons at the right temperature.
| Point | Details |
|---|---|
| Taste at the right temperature | Keep coffee between 50°C and 75°C to detect the full range of aromatic compounds. |
| Use the slurp technique | Aerating coffee across your palate activates retronasal receptors and reveals layered flavors. |
| Apply the saliva test | Check for saliva after swallowing to tell acidity from bitterness quickly and accurately. |
| Compare coffees side by side | Relative tasting accelerates palate development faster than tasting single cups in isolation. |
| Prioritize freshness | Brew within 2–6 weeks of roasting and grind just before brewing for the clearest flavor notes. |
What I’ve learned from years of tasting coffee as a beginner
The biggest mistake I see new coffee drinkers make is expecting to taste everything at once. When I first started, I would sip a cup and feel frustrated that I could not identify the “blueberry” or “brown sugar” notes printed on the bag. The truth is, those descriptors are targets, not guarantees. They tell you what to look for, not what you will automatically find.
What actually changed my tasting was slowing down and smelling before I sipped. The aroma stage is where most of the flavor story lives. Once I started treating the smell as its own event, the cup made so much more sense when I finally tasted it.
I also found that tasting with other people accelerated my learning faster than any solo practice. Hosting a small zero-waste coffee tasting event with friends, where everyone calls out what they notice, creates a kind of collective vocabulary that sticks. Someone else naming “dried cherry” in a cup you are both tasting suddenly makes that note real and findable.
My honest advice: give yourself three months of weekly tasting before you judge your progress. The palate learns slowly and then all at once. One day you will sip a cup and the caramel sweetness will be unmistakable. That moment is worth every awkward slurp along the way.
— LaSaundra
Tasting-ready coffee from Ecoviberoast
Ready to put these techniques into practice with coffee worth tasting? Ecoviberoast’s single-serve coffee pods are a great starting point for beginners. Each pod delivers a consistent, responsibly sourced cup so your tasting notes reflect the coffee, not brewing inconsistency.

Every purchase at Ecoviberoast supports mangrove tree planting and ocean-bound plastic removal, so your tasting practice does good beyond the cup. For palate variety, the Jasmine Tea is a beautiful companion to coffee tasting. Its delicate floral aroma trains your nose to pick up lighter, more subtle notes that transfer directly back to your coffee sessions. Browse the full collection and find your next tasting adventure.
FAQ
What is coffee cupping and how does it differ from regular tasting?
Coffee cupping is the standardized professional method for evaluating coffee using specific ratios, temperatures, and the slurp technique. Regular tasting is informal, while cupping follows a consistent protocol to compare coffees fairly.
What temperature should coffee be for tasting?
Experts recommend tasting coffee between 50°C and 75°C. Coffee that is too hot numbs the palate and hides subtle flavors.
How do I tell the difference between acidity and bitterness?
Use the saliva test: after swallowing, check your mouth for saliva. Saliva indicates acidity, while a dry mouth indicates bitterness.
How often should a beginner practice coffee tasting?
Tasting once or twice a week with deliberate note-taking builds palate recognition steadily. Side-by-side comparisons during each session speed up the learning process significantly.
Do I need special equipment to start tasting coffee?
No special equipment is required to start. A spoon, a clean cup, freshly ground coffee, and a simple notes app are enough to practice the core techniques covered in any beginner coffee guide.


