
TL;DR:
- Home coffee roasting transforms green beans into fresh, flavorful coffee using affordable equipment, mainly a popcorn popper. It offers significant cost savings and peak freshness by carefully monitoring roast stages like first and second crack before rapid cooling. Proper ventilation, consistent logging, and patience are essential to mastering the craft, producing unique flavors tailored to your preference.
Home roasting coffee is the process of transforming raw green coffee beans into fresh, aromatic, flavorful coffee using equipment you likely already own or can buy for under $50. The industry term for this practice is “home coffee roasting,” and it covers everything from popcorn popper roasting to dedicated drum roasters. You get unmatched freshness, real cost savings, and the deeply satisfying experience of drinking something you made from scratch. This guide walks you through the home roasting coffee basics: the right equipment, a clear step-by-step process, how to read roast levels, and how to fix the most common mistakes.
What are the basics of home roasting coffee?
Home coffee roasting is more accessible than most beginners expect. Green coffee beans cost $5 to $10 per pound, compared to $15 to $25 per pound for pre-roasted coffee. That gap represents a 50 to 60% cost reduction, which adds up fast if you brew daily. Beyond the savings, freshness is the main reason people make the switch. Roasted beans degrade noticeably after about three weeks, and most grocery store coffee is already weeks old before it reaches your cup.
The core process involves three stages: applying heat to green beans, monitoring their transformation through color and sound cues, and cooling them rapidly to lock in your desired roast level. You will hear terms like “first crack,” “second crack,” and “Maillard reaction” throughout this guide. These are not intimidating concepts once you understand what they mean in practice. Think of this guide as your warm companion on a genuinely rewarding coffee adventure.
What equipment do you need to start roasting at home?
You do not need expensive gear to get started. A basic home roasting station costs $50 to $100, including your heat source and a starter supply of green beans. Here is a breakdown of the most common beginner options:
| Equipment | Approx. Cost | Batch Size | Ease of Use |
|---|---|---|---|
| Hot air popcorn popper | $20 to $40 | 75 to 100g | Very easy |
| Cast iron skillet | $10 to $30 | 100 to 150g | Moderate |
| Heat gun with metal bowl | $30 to $60 | 100 to 200g | Moderate |
| Dedicated home roaster (e.g., Fresh Roast SR540) | $150 to $300 | 120 to 250g | Easy to moderate |
For most beginners, the hot air popcorn popper is the best starting point. Starting with a $20 to $40 popcorn popper lets you learn the sensory markers of roasting without complexity or high investment. You can hear first crack clearly, watch the color shift in real time, and practice cooling without worrying about a machine’s settings.
Beyond the heat source, you need a few supporting items:
- A metal colander or baking sheet for cooling beans rapidly
- An airtight container for storing green beans (which stay fresh for 6 to 12 months when stored properly)
- A kitchen timer and a notebook for logging each batch
- A reliable scale for measuring consistent bean quantities
Ventilation is not optional. Roasting generates smoke and chaff that will trigger smoke alarms and coat your kitchen in a fine papery dust if you roast indoors without an open window or extractor hood. Many beginners roast on a covered porch or near an open back door, which works well. For eco-conscious storage choices, Ecoviberoast’s guide on green coffee packaging covers sustainable options that keep your beans fresh without unnecessary waste.
Pro Tip: Start with 75 grams of green beans in a popcorn popper before investing in a dedicated machine. You will learn more from three small batches than from reading any amount of theory.
How do you roast coffee at home, step by step?
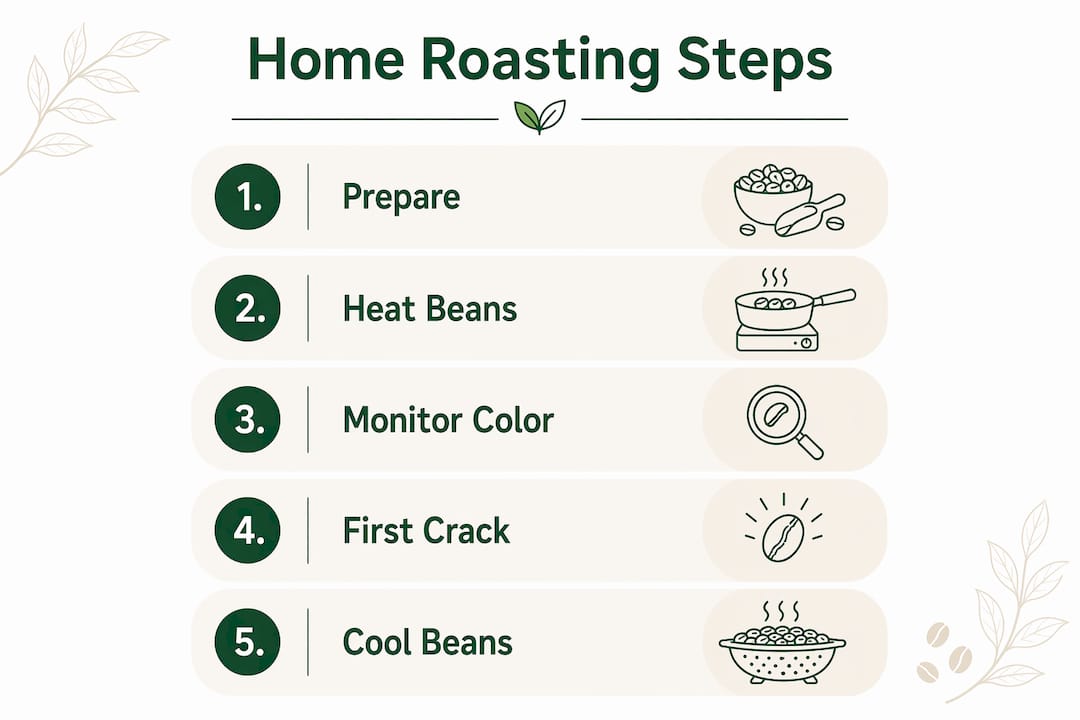
A typical roast runs 8 to 15 minutes from start to finish, with cooling adding another 4 to 5 minutes. Here is the process broken down clearly:
- Measure your beans. Start with 75 to 100 grams of green coffee beans. Consistent batch sizes make it easier to compare results across roasts.
- Preheat your heat source. Run your popcorn popper or dedicated roaster for 30 to 60 seconds before adding beans. A preheated environment promotes even heat distribution from the start.
- Add beans and start your timer. Drop beans in and begin timing immediately. The beans will start yellow and grassy smelling in the first 3 to 5 minutes as moisture evaporates.
- Watch for yellowing and the Maillard reaction. Around minutes 4 to 6, beans shift from yellow to light brown as sugars and amino acids react under heat. This is the Maillard reaction, the same chemistry that browns bread and sears meat.
- Listen for first crack. First crack occurs around 385°F (196°C) and sounds like popcorn popping. This marks the beginning of a light roast. Stop here for a bright, fruity cup.
- Continue for medium or dark roasts. A medium roast develops between first and second crack. Second crack happens near 435°F (224°C) and sounds like a quieter, crackling snap. Stopping here or just after produces a dark roast with bold, smoky notes.
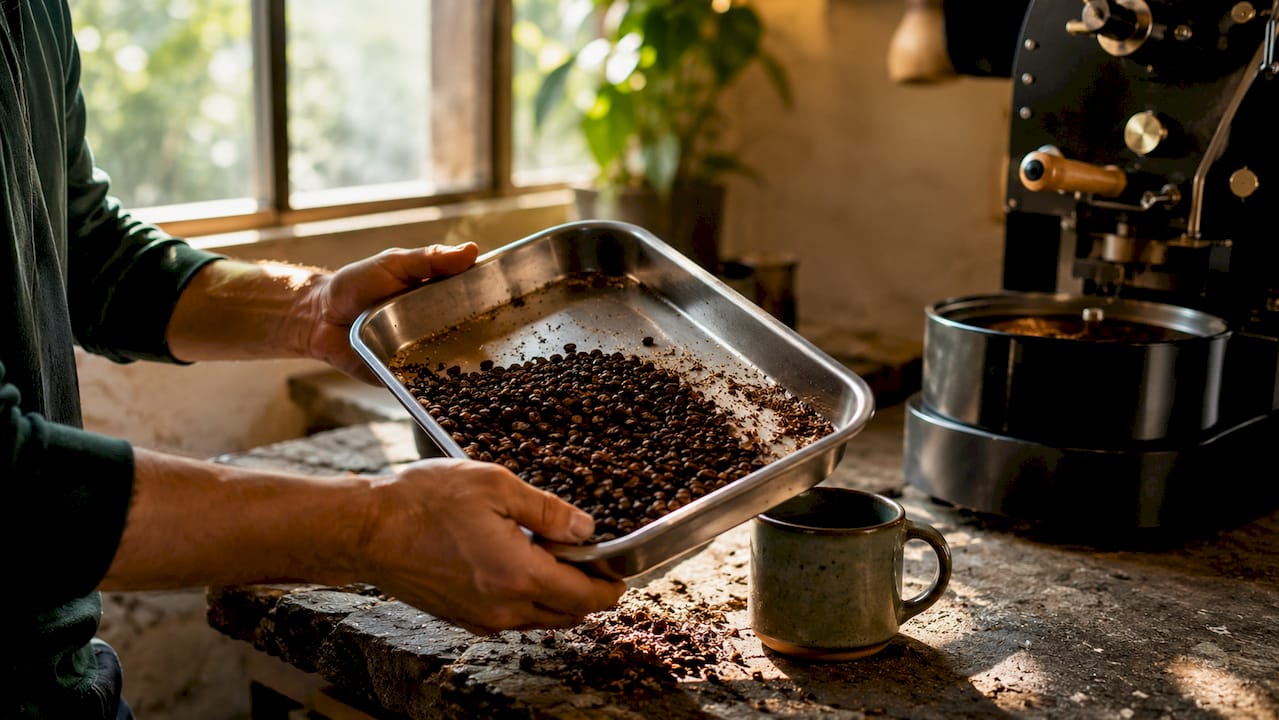
- Cool beans immediately. Transfer beans to a metal colander and toss them in open air, or use a fan. Rapid cooling within 4 to 5 minutes stops the roasting process and locks in your target roast level.
- Rest before brewing. Wait at least 24 hours before brewing, and aim for the 4 to 14 day window for peak flavor.
| Roast Stage | Temperature | Time (approx.) | Visual Cue |
|---|---|---|---|
| Drying phase | Up to 300°F | 0 to 5 min | Yellow, grassy |
| First crack | ~385°F | 7 to 10 min | Light brown, popping sound |
| Medium roast zone | 400 to 425°F | 10 to 12 min | Medium brown, caramel aroma |
| Second crack | ~435°F | 12 to 14 min | Dark brown, crackling sound |
Pro Tip: Keep a small notebook next to your roasting station. Write down the batch weight, heat setting, time to first crack, and total roast time. After five batches, you will spot patterns that no guide can teach you.
How do roast levels affect coffee flavor?
Roast level is the single biggest variable in your cup’s flavor profile. Light roasts preserve the bean’s origin character, which means you taste the soil, altitude, and processing method of the farm. Medium roasts balance brightness with body. Dark roasts push caramelization and oil migration to the surface, producing bold, bitter, chocolatey flavors that many people associate with espresso.
The chemistry behind this is worth understanding briefly. During the drying phase, moisture leaves the bean. The Maillard reaction then builds hundreds of aromatic compounds. Caramelization follows, converting sugars into the rich, sweet notes you taste in medium roasts. At second crack, cell walls break down, oils migrate to the surface, and acidity drops sharply.
Here is a quick reference for flavor notes at each roast level:
- Light roast: Floral, citrus, berry, tea-like brightness, higher acidity
- Medium roast: Caramel, chocolate, stone fruit, balanced body and acidity
- Dark roast: Smoky, bittersweet chocolate, low acidity, heavy body, oily surface
One detail most beginner guides skip: internal bean temperature drives roast progression more than the temperature of your heat source. Beans continue roasting after you remove them from heat because residual internal heat keeps driving chemical reactions. This is why rapid cooling is so critical. It is not just about stopping the clock. It is about stopping the chemistry.
Peak flavor develops 4 to 14 days after roasting, as CO2 off-gasses and flavor compounds stabilize. Brewing too soon produces a flat, gassy cup. Patience here is genuinely rewarded. For a deeper look at how different roasting techniques affect your brew, the expanded coffee brew guide at Ecoviberoast is a practical next read.
Common mistakes and how to fix them
Even experienced home roasters hit snags. Knowing what to watch for saves you from wasting good beans.
- Over-roasting: If your beans look nearly black and smell like ash, you pushed past second crack. Reduce total roast time by 60 to 90 seconds on your next batch.
- Under-roasting: Grassy, sour, or vegetal flavors in the cup mean the beans did not reach first crack. Extend your roast time or increase heat slightly.
- Uneven roasting: Some beans light, some dark in the same batch usually means inconsistent agitation. Stir more frequently if using a skillet, or reduce batch size in a popper.
- Smoke alarm triggers: Chaff and smoke without proper ventilation are the top cause of indoor roasting complaints. Move your setup near an open window or outside.
- Chaff buildup: Chaff is the papery skin that separates from beans during roasting. It can clog exhaust systems and create a significant mess. A bowl of water placed nearby to catch chaff, or roasting outdoors, solves this quickly.
First crack is your most reliable roast marker. If you are unsure whether you heard it, you probably did not. Wait for a clear, repeated popping sound before making any roast decisions.
Pro Tip: After each roast, smell your beans before you taste them. Aroma tells you more about roast development than color alone, especially in lower-light kitchens.
For a broader look at safe and sustainable home coffee practices, Ecoviberoast’s home coffee sustainability checklist covers handling, cleanup, and eco-friendly habits worth building from day one.
Key takeaways
Mastering home coffee roasting requires the right equipment, consistent temperature awareness, and patience during the resting phase after each roast.
| Point | Details |
|---|---|
| Start with a popcorn popper | A $20 to $40 popper teaches sensory cues without high cost or complexity. |
| First crack is your roast anchor | Listen for popping at ~385°F to identify the start of a light roast. |
| Cool beans fast | Transfer to a colander within 4 to 5 minutes to stop residual heat from over-roasting. |
| Rest before brewing | Wait 4 to 14 days post-roast for CO2 to off-gas and flavor to peak. |
| Log every batch | A simple notebook record of time, temperature, and results accelerates your learning curve. |
What I have learned from roasting at home
By LaSaundra
My first roast was a disaster in the best possible way. I used a $25 popcorn popper, opened the back door, and promptly filled my kitchen with smoke and chaff. The beans came out uneven, slightly grassy, and honestly not great in the cup. I brewed them anyway and felt unreasonably proud.
What I did not expect was how quickly the learning curve flattened. By batch five, I could hear first crack clearly and knew exactly when to pull for the roast level I wanted. The notebook habit made the biggest difference. Not because I am particularly organized, but because writing down what I did forced me to actually pay attention during the roast instead of drifting off.
The freshness argument is real and not overstated. Drinking coffee you roasted four days ago tastes genuinely different from anything you buy pre-roasted. The brightness, the aroma, the way it fills the room when you grind it. It is hard to go back.
My honest advice: do not obsess over equipment at the start. The popcorn popper teaches you more than a $250 machine will in your first month. Get comfortable with the sensory cues, build your logging habit, and upgrade only when you have outgrown what your current setup can do. The craft rewards patience, and every batch is a small, aromatic experiment worth running.
— LaSaundra
Start your home roasting journey with Ecoviberoast
Ready to put these techniques into practice? Ecoviberoast sources sustainably grown green coffee beans with full traceability, so you know exactly where your beans come from before you roast them. Every purchase also supports mangrove tree planting and ocean-bound plastic removal, making your coffee ritual a warm hug for both you and Mother Earth.

Whether you are stocking up on green beans for your first roast or looking to diversify your beverage shelf, Ecoviberoast has you covered. Explore the environmental impact behind every bag, or treat yourself to something aromatic and ready to brew, like the Hibiscus Berry Tea for those evenings when you want something bright and caffeine-free. And if you want to track the real savings of roasting at home, the low-waste coffee guide breaks down the numbers in a way that will motivate your next batch.
FAQ
What is the cheapest way to start roasting coffee at home?
A hot air popcorn popper costing $20 to $40 is the most affordable entry point for home coffee roasting. Pair it with green coffee beans at $5 to $10 per pound and you can start roasting for under $60 total.
How long does it take to roast coffee at home?
A typical home roast takes 8 to 15 minutes depending on your equipment and desired roast level, followed by 4 to 5 minutes of cooling. Lighter roasts finish closer to the 8 to 10 minute mark, while darker roasts extend toward 13 to 15 minutes.
When should you drink coffee after home roasting?
Peak flavor develops 4 to 14 days after roasting, as CO2 off-gasses and aromatic compounds stabilize. Brewing within the first 24 hours often produces a flat or gassy cup, so patience genuinely improves the result.
What does first crack mean in coffee roasting?
First crack is an audible popping sound that occurs when internal bean pressure causes the cell walls to expand, typically around 385°F. It marks the beginning of a light roast and is the most reliable sensory cue for beginner roasters to learn.
Is home coffee roasting safe indoors?
Home roasting indoors is safe when you have proper ventilation, such as an open window, extractor hood, or fan. Without ventilation, smoke and chaff buildup can trigger smoke alarms and create a significant mess, so many roasters prefer to work near an open door or outside.


